Calibration and test leaks for leak tightness and flow – overview
Calibration and test leaks are an important control instrument individually or integrated in flow or leak tightness test systems. They can be produced for leakages in a flow range of approx. 0.01 ml/min up to approx. 1,5 l/min at inlet pressures of 10 mbar up to 40 bar for air and gases.
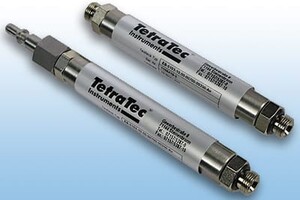
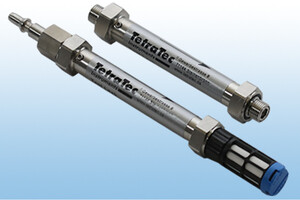
We produce standard leaks in cylindrical form with threaded couplings or plug-in connectors on base of capillaries, nozzles and orifices. But it is also possible to implement defined nozzle profiles or orifice bores in available components or parts, which adjust a defined leakage or a micro flow under defined test conditions.
Our delivery program:
Calibration and test leaks as well as customer-specific test leaks in diameters of DN 4 up to DN 25.
Standard and customer-specific test leaks:
- Capillary calibration and test leaks EK
based on capillaries with linear pressure flow interrelationship - Nozzle test leaks EB
based on nozzles which are operated subcritically or critically - Customer-specific leaks ELY
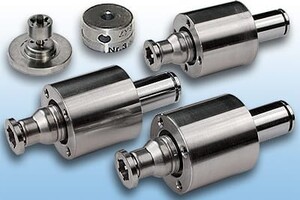
based on the test sample geometry with installed capillaries or nozzles
Configuration of calibration and test leaks:
Structure: Calibration and test leaks on base of capillaries and nozzles are installed in tubular housings, threads or customer-specific test sample housings.
Design: The pressure flow design is always performed according to customer-specific requirements.
Calibration: All test leaks are delivered with calibration certificate. In addition, correction formula for other operating conditions can be provided, deviating from the nominal design conditions.
Test leak variants
Individual or integrated in the test system
More information and technical details can be
found in the data sheet and on the product page


